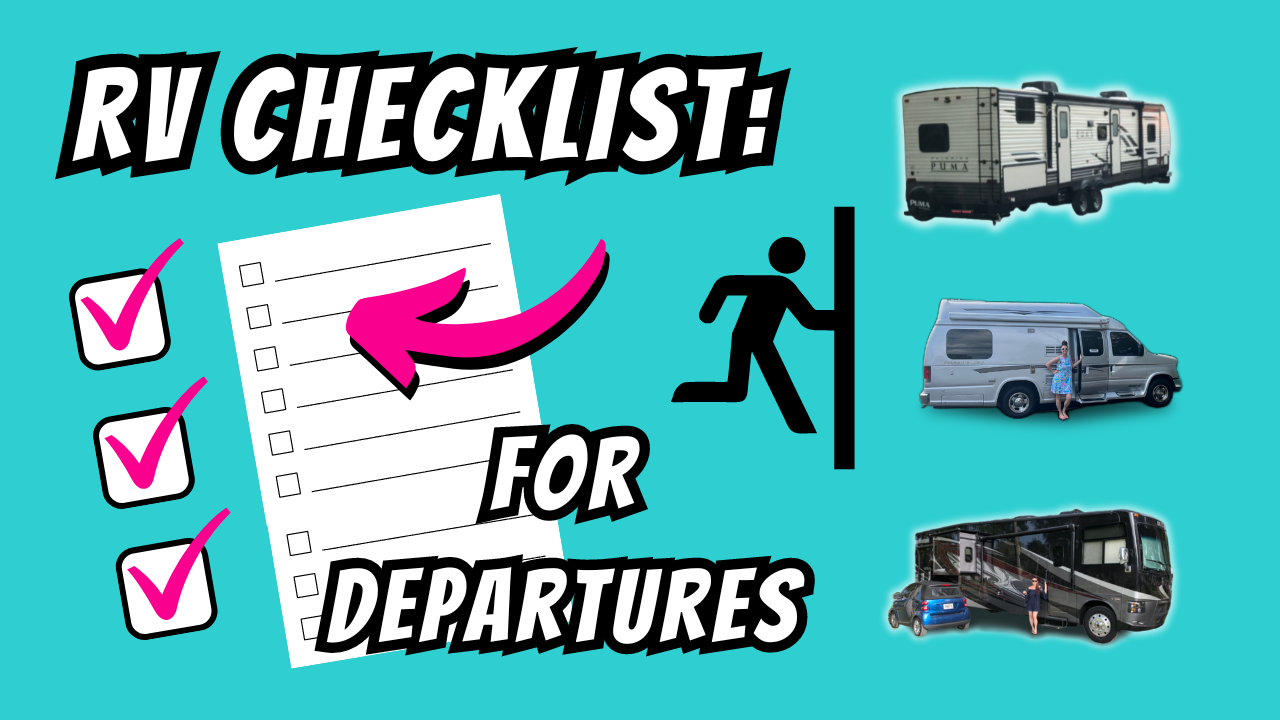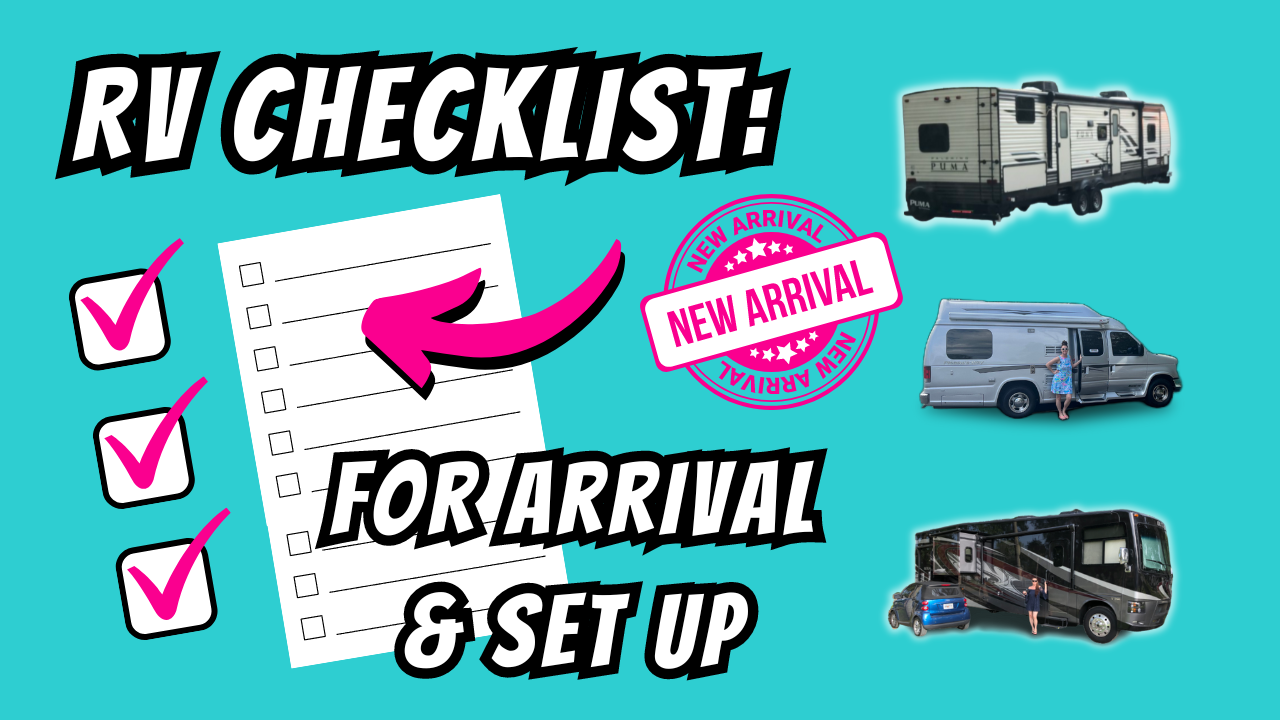
RV Arrival & Setup Checklist
Welcome to the adventure of RV living! Whether you’re driving a Class A, Class B, or Class C motorhome, or towing a fifth wheel or travel trailer, arriving at your destination and setting up your RV can be a seamless experience with the right preparation. This comprehensive RV arrival checklist is designed to guide you through every step of the process, ensuring you cover all the essentials for a smooth and safe setup.
Personalize this RV setup checklist to match your specific motorhome or trailer, and always refer to your RV’s Owner’s Manual for detailed instructions. While many of these tasks can be done in various orders and some might not apply to your specific RV or campsite, following this guide will help you establish a reliable routine and get the most out of your RV camping experience.
Get ready to enjoy your RV adventure with confidence, knowing that every aspect of your RV parking and setup is covered! This RV setup guide includes everything you need for a successful arrival, from RV leveling tips to the RV hookup process. Whether you have a fifth wheel, travel trailer, or any type of motorhome, these RV camping setup tips and tricks will ensure you’re well-prepared for your journey.
[DOWNLOAD] The RV Arrival & Setup Checklist
Your Ultimate RV Arrival & Setup Checklist:
This checklist is intended for motorhomes: Class A, Class B, and Class C, as well as, towable recreational vehicles such as fifth wheels and travel trailers. It includes steps necessary during arrival and setup of the RV.
Please use this checklist as a guide and customize it to your specific motorhome or trailer and needs. Review the Owner’s Manual supplied with your RV to ensure that you complete all necessary steps for the safe operation of your specific unit.
Many items on this list may be completed out of sequence. Some items may not apply to your RV or may not be necessary for every type of RV camping.
Trip Information
- Title:
- Date:
RV Arrival & Checking In
- Park RV near the entrance or office as indicated by signs, doing your best not to block other traffic
- Check in
- Ask if a discount is offered for RV club members such as the Good Sam Club, or Escapees (generally 10% to 15% discount on daily rates)
- Request a map of the park and directions on the best way to drive to your slot
- Request directions to park facilities of interest, including entry codes, if any
- Ask if Internet access is offered and details on how to use it (WiFi and password, data phone line location, etc.)
- If arriving after the office is closed, look for after-hours check in instructions posted near the entrance or office
Locating RV Lot
- Find your slot on park map and determine entry and exit paths
- Walk or take alternate transportation to RV slot before driving RV into park (Strongly recommended for large RV’s to avoid potential tight spots.)
- Before driving RV into park, determine if park roads can safely accommodate RV entry and exit (keep an eye on narrow roads, sharp corners, low trees, etc.)
- Before driving RV into park, determine if RV will fit into slot and if all slides can be deployed (keep an eye on trees, fences, utility poles, picnic tables, etc.)
- Confirm that slot has expected facilities (electricity with correct amperage and plugs, water, sewer, etc.)
- Test the water faucet, especially in freezing weather
- Plan RV approach path and angle, especially if this is a back in slot
- If towing a trailer or vehicle, determine if it needs to be unhitched before entering slot
Driving In & Parking The RV
- If slot has no sewer, drive to dump station and empty waste tanks, if needed
- If slot has no water, drive to water source and fill fresh water tanks, if needed
- Perform a two-way radio check, if using a spotter
- Drive RV into slot and position as desired (be considerate of your neighbors by not crowding too close to their space)
- Confirm that all necessary facilities are reachable from this position (electric, water, sewer, cable TV, etc.)
- Walk around RV to confirm position allows deployment of slides and other RV features without obstruction (consider slide positions as deployed, awnings, steps, decks, etc.)
- Check for high obstructions such as tree limbs (even small limbs almost touching RV can cause noise and damage slide covers in wind)
- If clearance cannot be accurately determined, temporarily deploy slides and other features to confirm clearance
- If slides or other features were temporarily deployed to check clearance, move slides, etc. back in until RV is completely parked and level
- If towing a trailer or vehicle, unhitch it from the motorhome
- If carrying a heavy load on hitch platform, unload it (motorcycles, golf carts, etc.)
- Set the parking brake
- Place blocks under leveling jacks (to prevent sinking and marking paved surface)
- Use leveling jacks to level RV laterally and lengthwise
- If RV can not be leveled with the leveling jacks alone, place leveling blocks under the appropriate wheels to level (and front trailer hitch*). Determine if RV is level (place a level on the floor inside RV or use level attached to outside of RV)
- Chock RV wheels
- Place blocks under leveling jacks or tongue jack (to prevent sinking and marking paved surface)
- Lower leveling or tongue jacks until they support front weight of trailer
- Remove safety chains (TT only)
- Remove sway bars (TT only)
- Disconnect RV umbilical cord from the tow vehicle
- Disconnect RV breakaway switch cable from the tow vehicle
- Store umbilical cord and breakaway switch cable in RV compartment, if available
- Unhitch RV from tow vehicle
- Install king pin lock, if used (FW only)
- Level RV lengthwise (use tongue or leveling jacks to raise or lower front)
Setting Up The RV
- Deploy steps and handrails
- Unlock slide mechanism, if available
- Deploy slides (from inside RV, confirm that slides form a seal all around)
- Deploy decks and other heavy external features
- Lower or install stabilizing jacks and apply enough tension to minimize RV movement (do not place a significant amount of weight on stabilizing jacks or attempt to lift a portion of the RV with them)
- Check if RV is still level in both directions and adjust leveling jacks, if necessary
- If you have an electric outlet tester, use it now
- If you have an RV surge protector, plug it into the outlet
- Connect electricity and make sure the breaker is turned on
- Connect cable TV and telephone line
- Connect the water hose and water pressure regulator
- If the RV slot has sewer:
- Connect sewer hose and make sure both ends are secure
- Open gray tank valves
- Empty black tanks, if needed
- Close black tank valves (to prevent odors from escaping through roof vents)
- Turn on all propane bottle valves and check for leaks
- Fill the water heater tank by opening the hot water faucet valve until water comes out
- Turn on propane water heater, if needed
- Turn on water pump, if no external water source is available
- Confirm that refrigerator is turned on and running on AC
- Turn on air conditioners or furnace and set thermostat
- Remove items from RV which are kept outside (chairs, grills, etc.)
- Remove all fasteners used to secure cabinet doors and other items
- Unlock tabs on external range hood vent
- Return all items to their normal locations
- Raise roof-mounted TV antenna
- Raise roof-mounted satellite dishes
- Disconnect chassis battery, if available (to prevent engine-starting battery from draining)
- Lock all external RV panels
Miscellaneous
- Record tow vehicle’s ending miles:
- Record towing miles in trailer log book (ending miles minus starting miles)
- If using an engine tuner in the tow vehicle and have returned the engine to “stock” programming before towing, then re-install desired performance programming
Conclusion: Seamless RV Arrival and Setup
By following this ultimate RV arrival and setup checklist, you’ll ensure that your journey begins on the right foot, whether you’re traveling in a Class A, Class B, or Class C motorhome, or towing a fifth wheel or travel trailer. Customizing this guide to fit your specific RV and referring to your Owner’s Manual will provide added assurance for a safe and efficient setup.
From RV parking and leveling to connecting utilities and securing your campsite, every step is crucial for a hassle-free experience. With these RV camping setup tips and tricks, you’ll be well-prepared to handle any situation, allowing you to fully enjoy the freedom and adventure that RV life offers.
[DOWNLOAD] The RV Arrival & Setup Checklist